[Tutorial] Demon Wings

tumblr_nl269u3Ega1rne1ubo1_500

Halloween is coming and I want to share with you this little tutorial of how I made those little demon wings. You can use it for cosplay purpose or even for a cute halloween costume!

you will need:

  • Stretch metallic fabric
  • Wire
  • Tape
  • Scissors
  • Some pins
  • Sewing Machine

Step 1: 

I start making a wire base leaving a round/squared shape in the inner part.

Demon wings tutorial devil cosplay sew  lilitherz

STEP 2: 

Cut the fabric 1cm larger than the wire shape.

Demon wings tutorial devil cosplay sew lilitherz

STEP 3:

Sew with a sewing machine the borders, leaving the inner and the  bottom part open. Turn over the fabric and fold the wire securing with pins.

Demon wings tutorial devil cosplay sew  lilitherz


STEP 4:

Sew the bottom part with the sewing machine very closer to the edge. Then, sew the inner contour close to the wire to add definition to the shape.  And then, just hand sew the inner part.

Demon wings tutorial devil cosplay sew  lilitherz


Final result:

demon-wing-tutorial5


Now, just sewing it to your dress around the wire in the inner part, you will get this:

Demon wings tutorial devil cosplay sew lilitherz miku heart hunter

Hope this tutorial can be useful!

[TIP] Set up / organize cosplay things

I’m not a very organized person, but for cosplay,  I try to keep cosplay things in order for not losing things and get mad ;P

That’s my way to store those things:
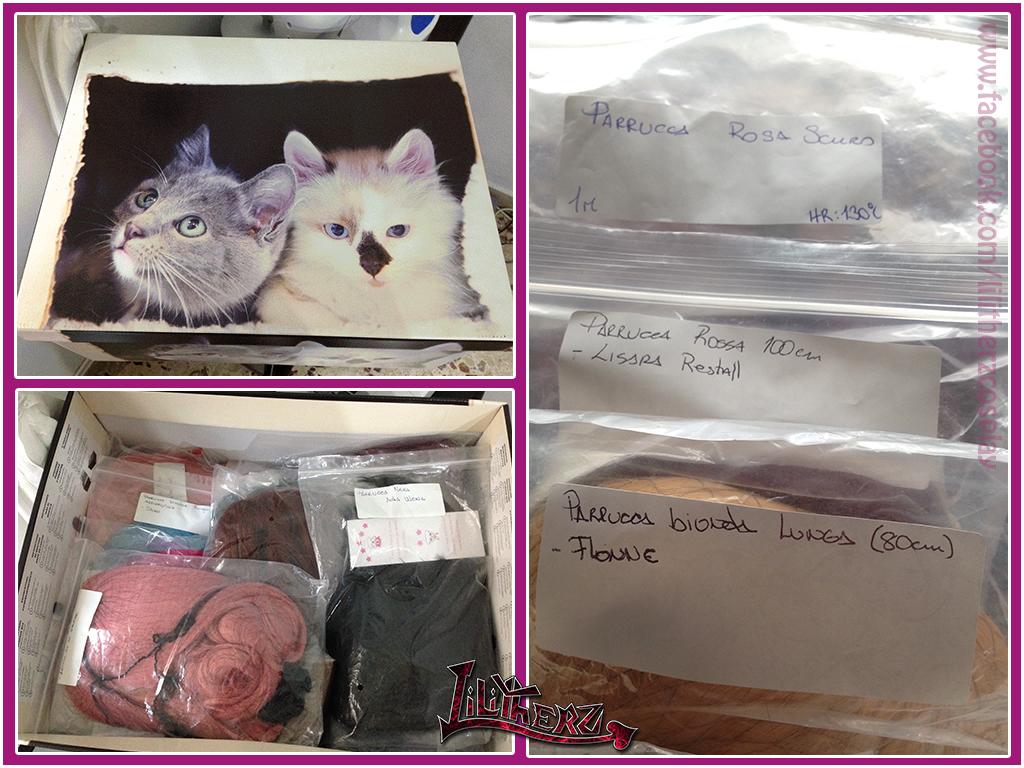
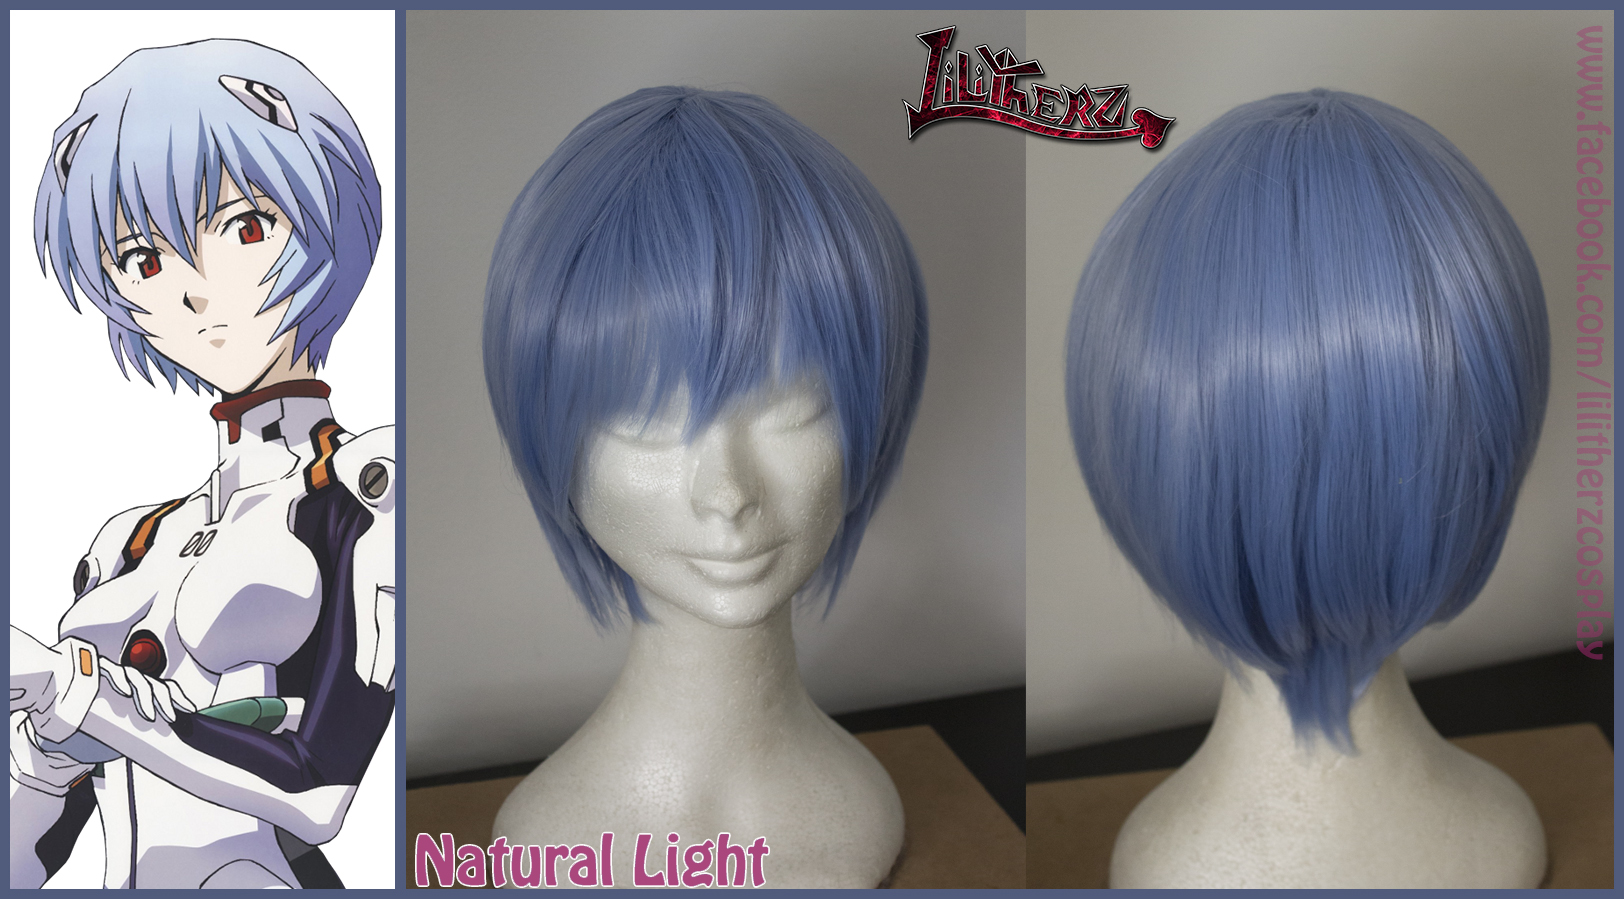
wigs

I have two cardboard boxes with cute kitties on it for store all my cosplay wigs.

I like to put a label on wig’s bag to recognize every wig without opening the plastic bag. I write color, length and character. It’s a quite good tip for not get crazy searching for a specific wig between a lot of similar wigs.
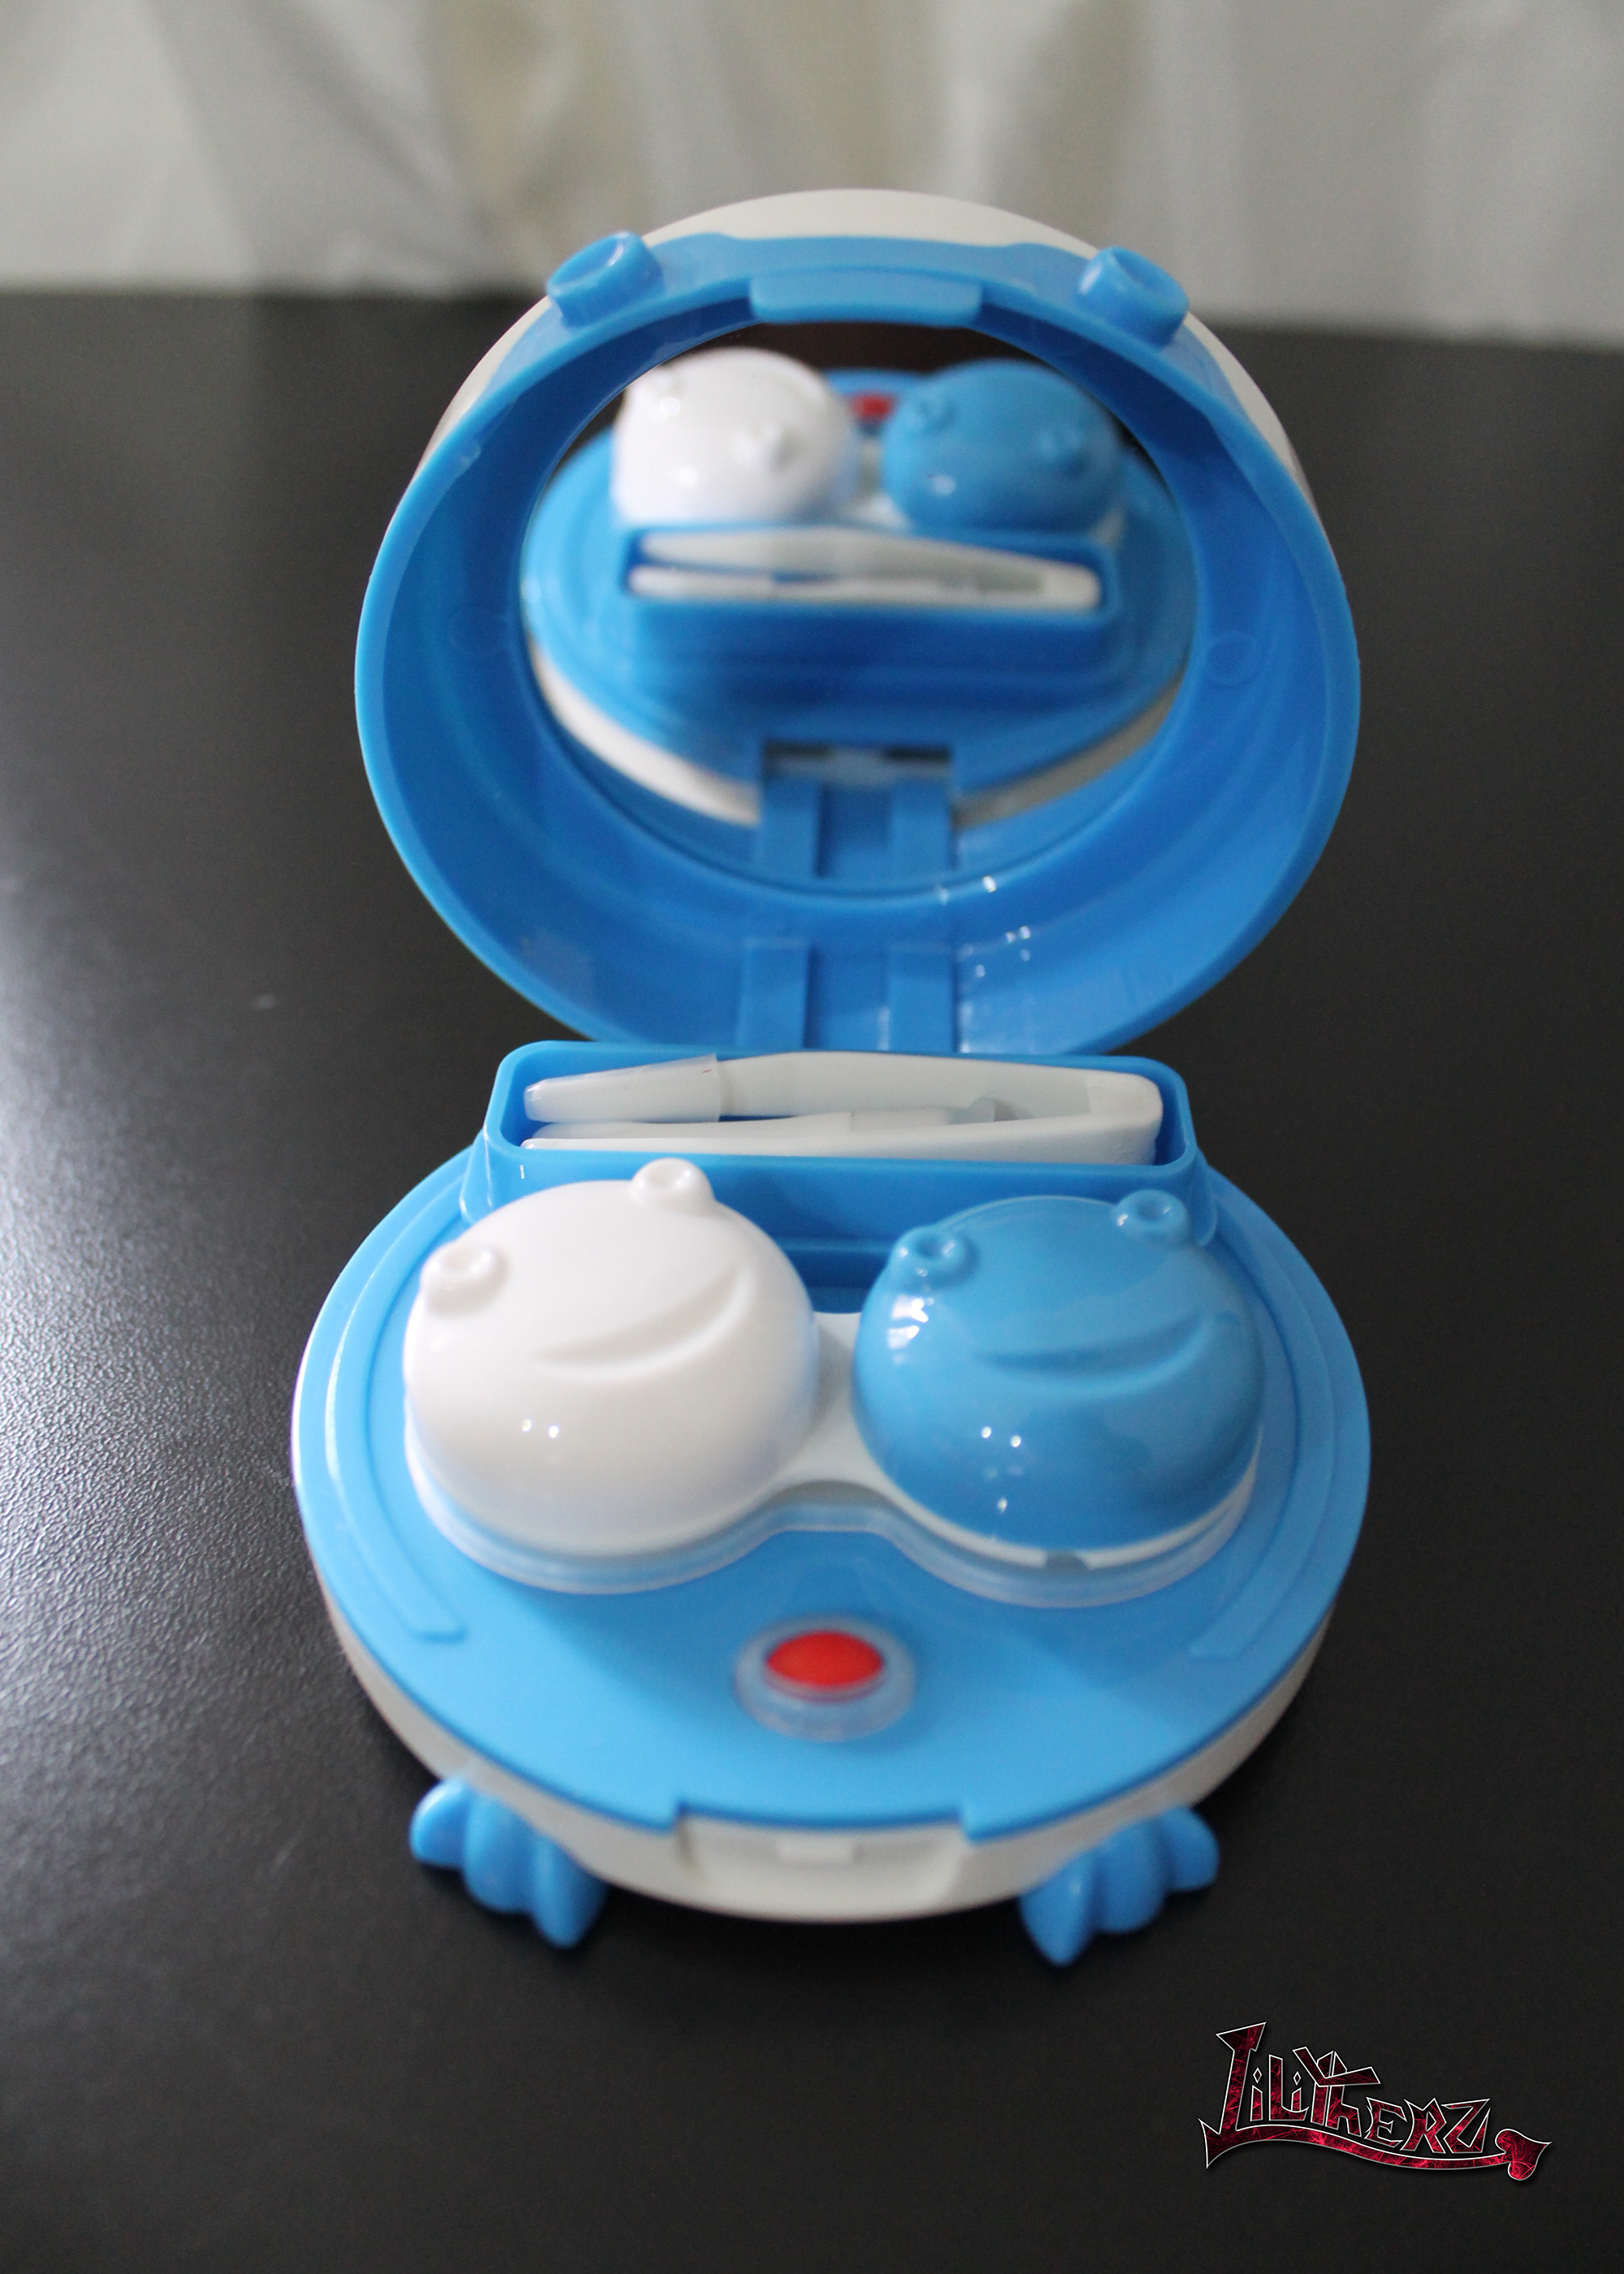
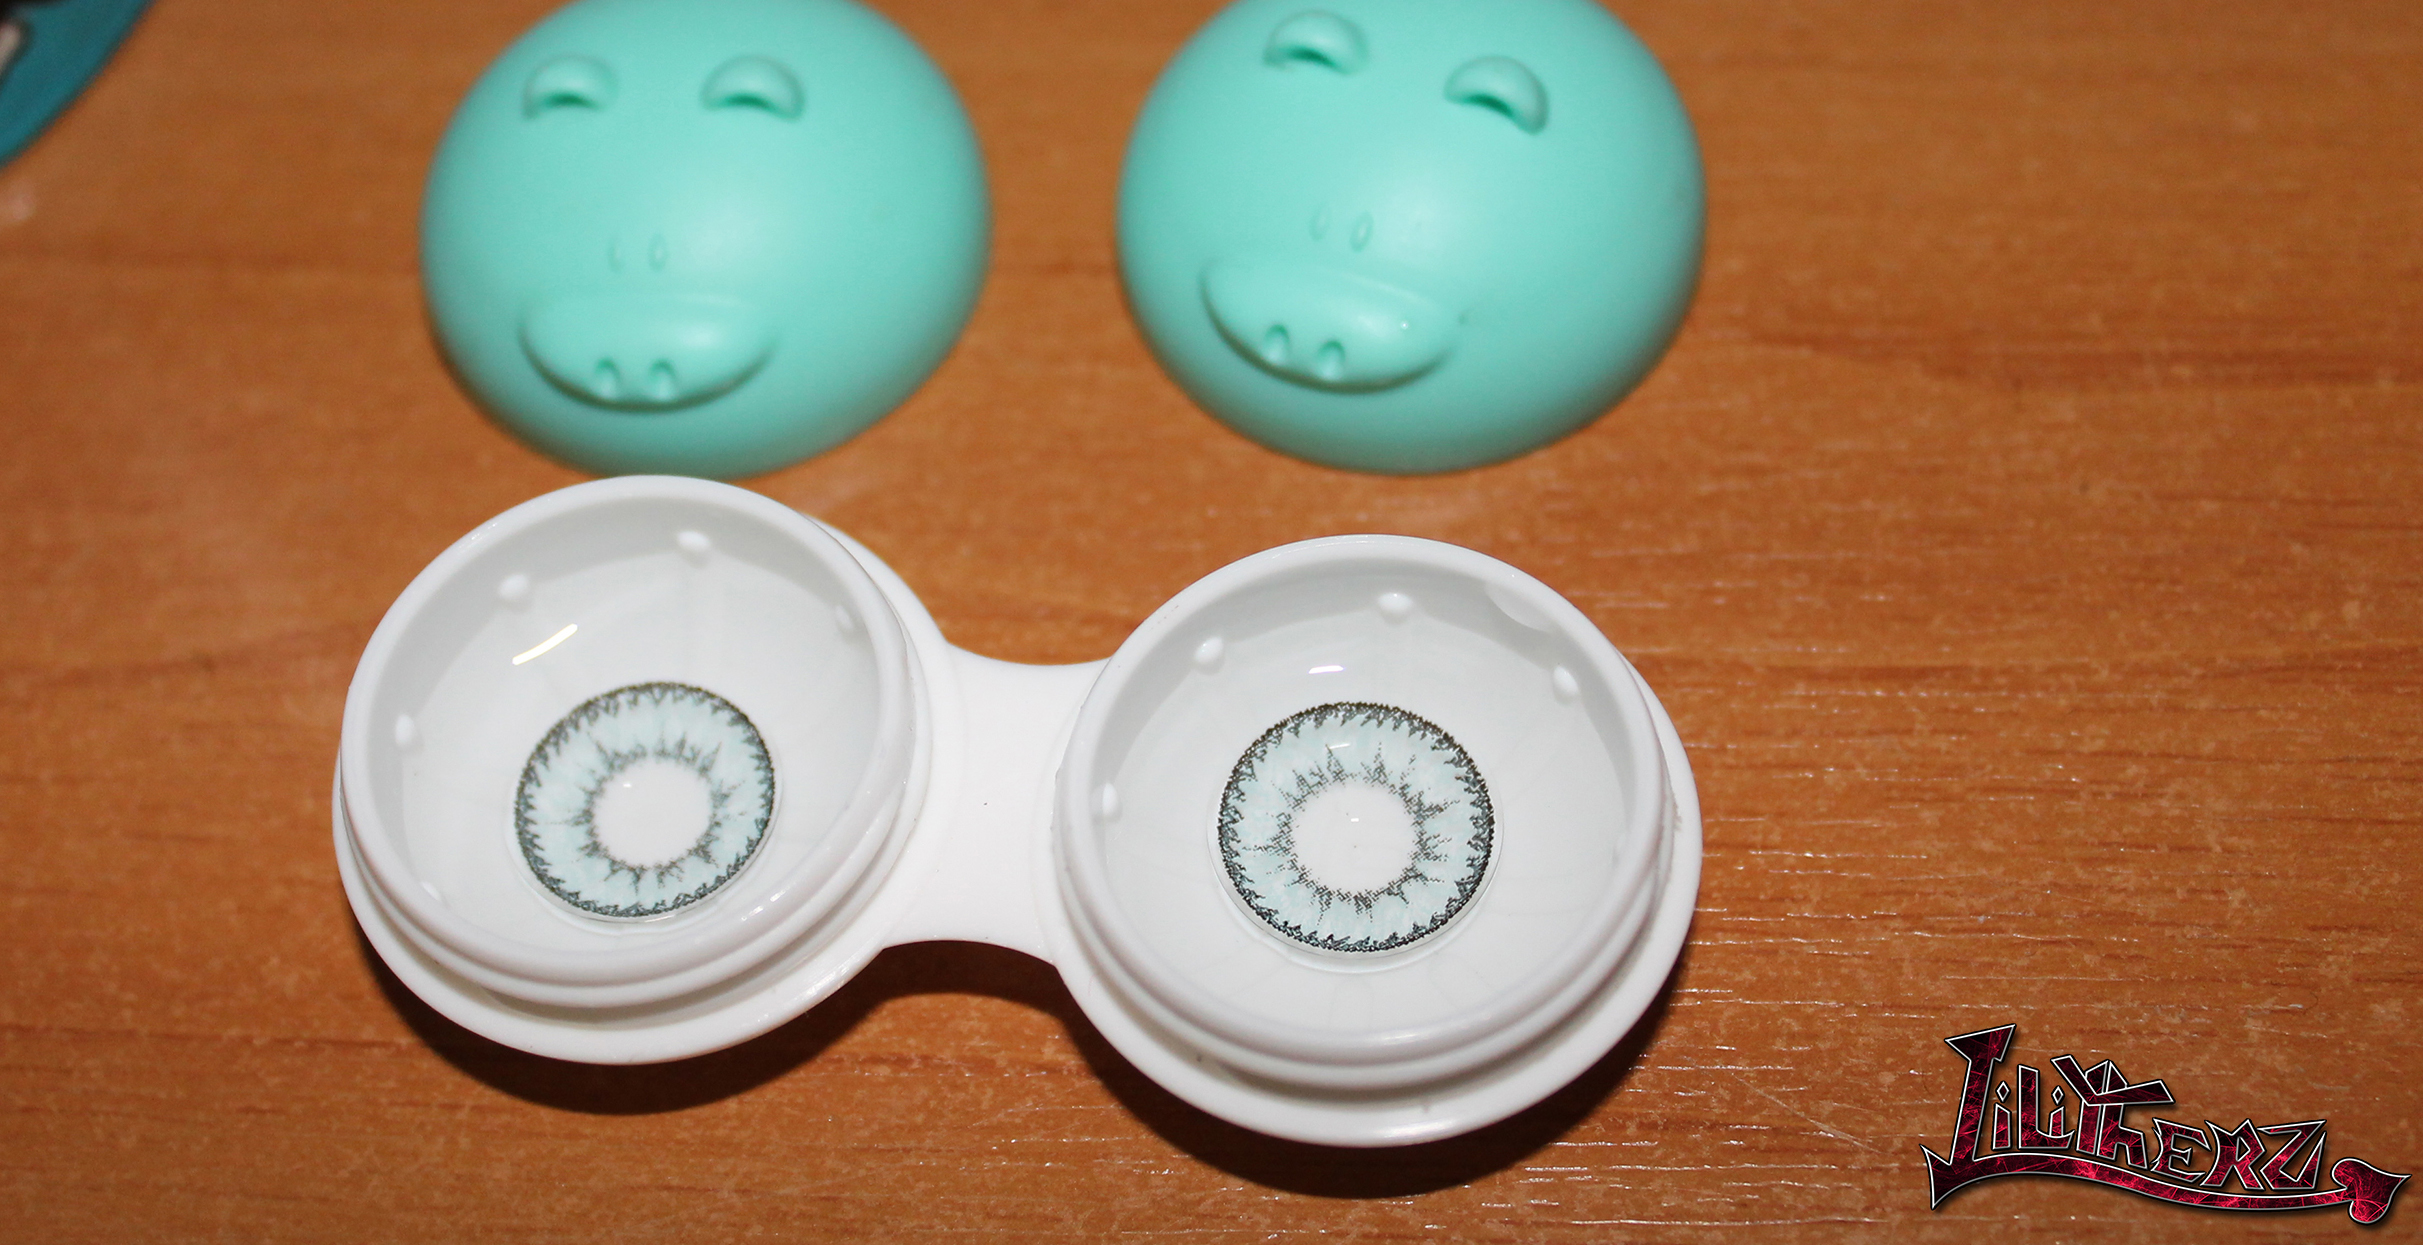
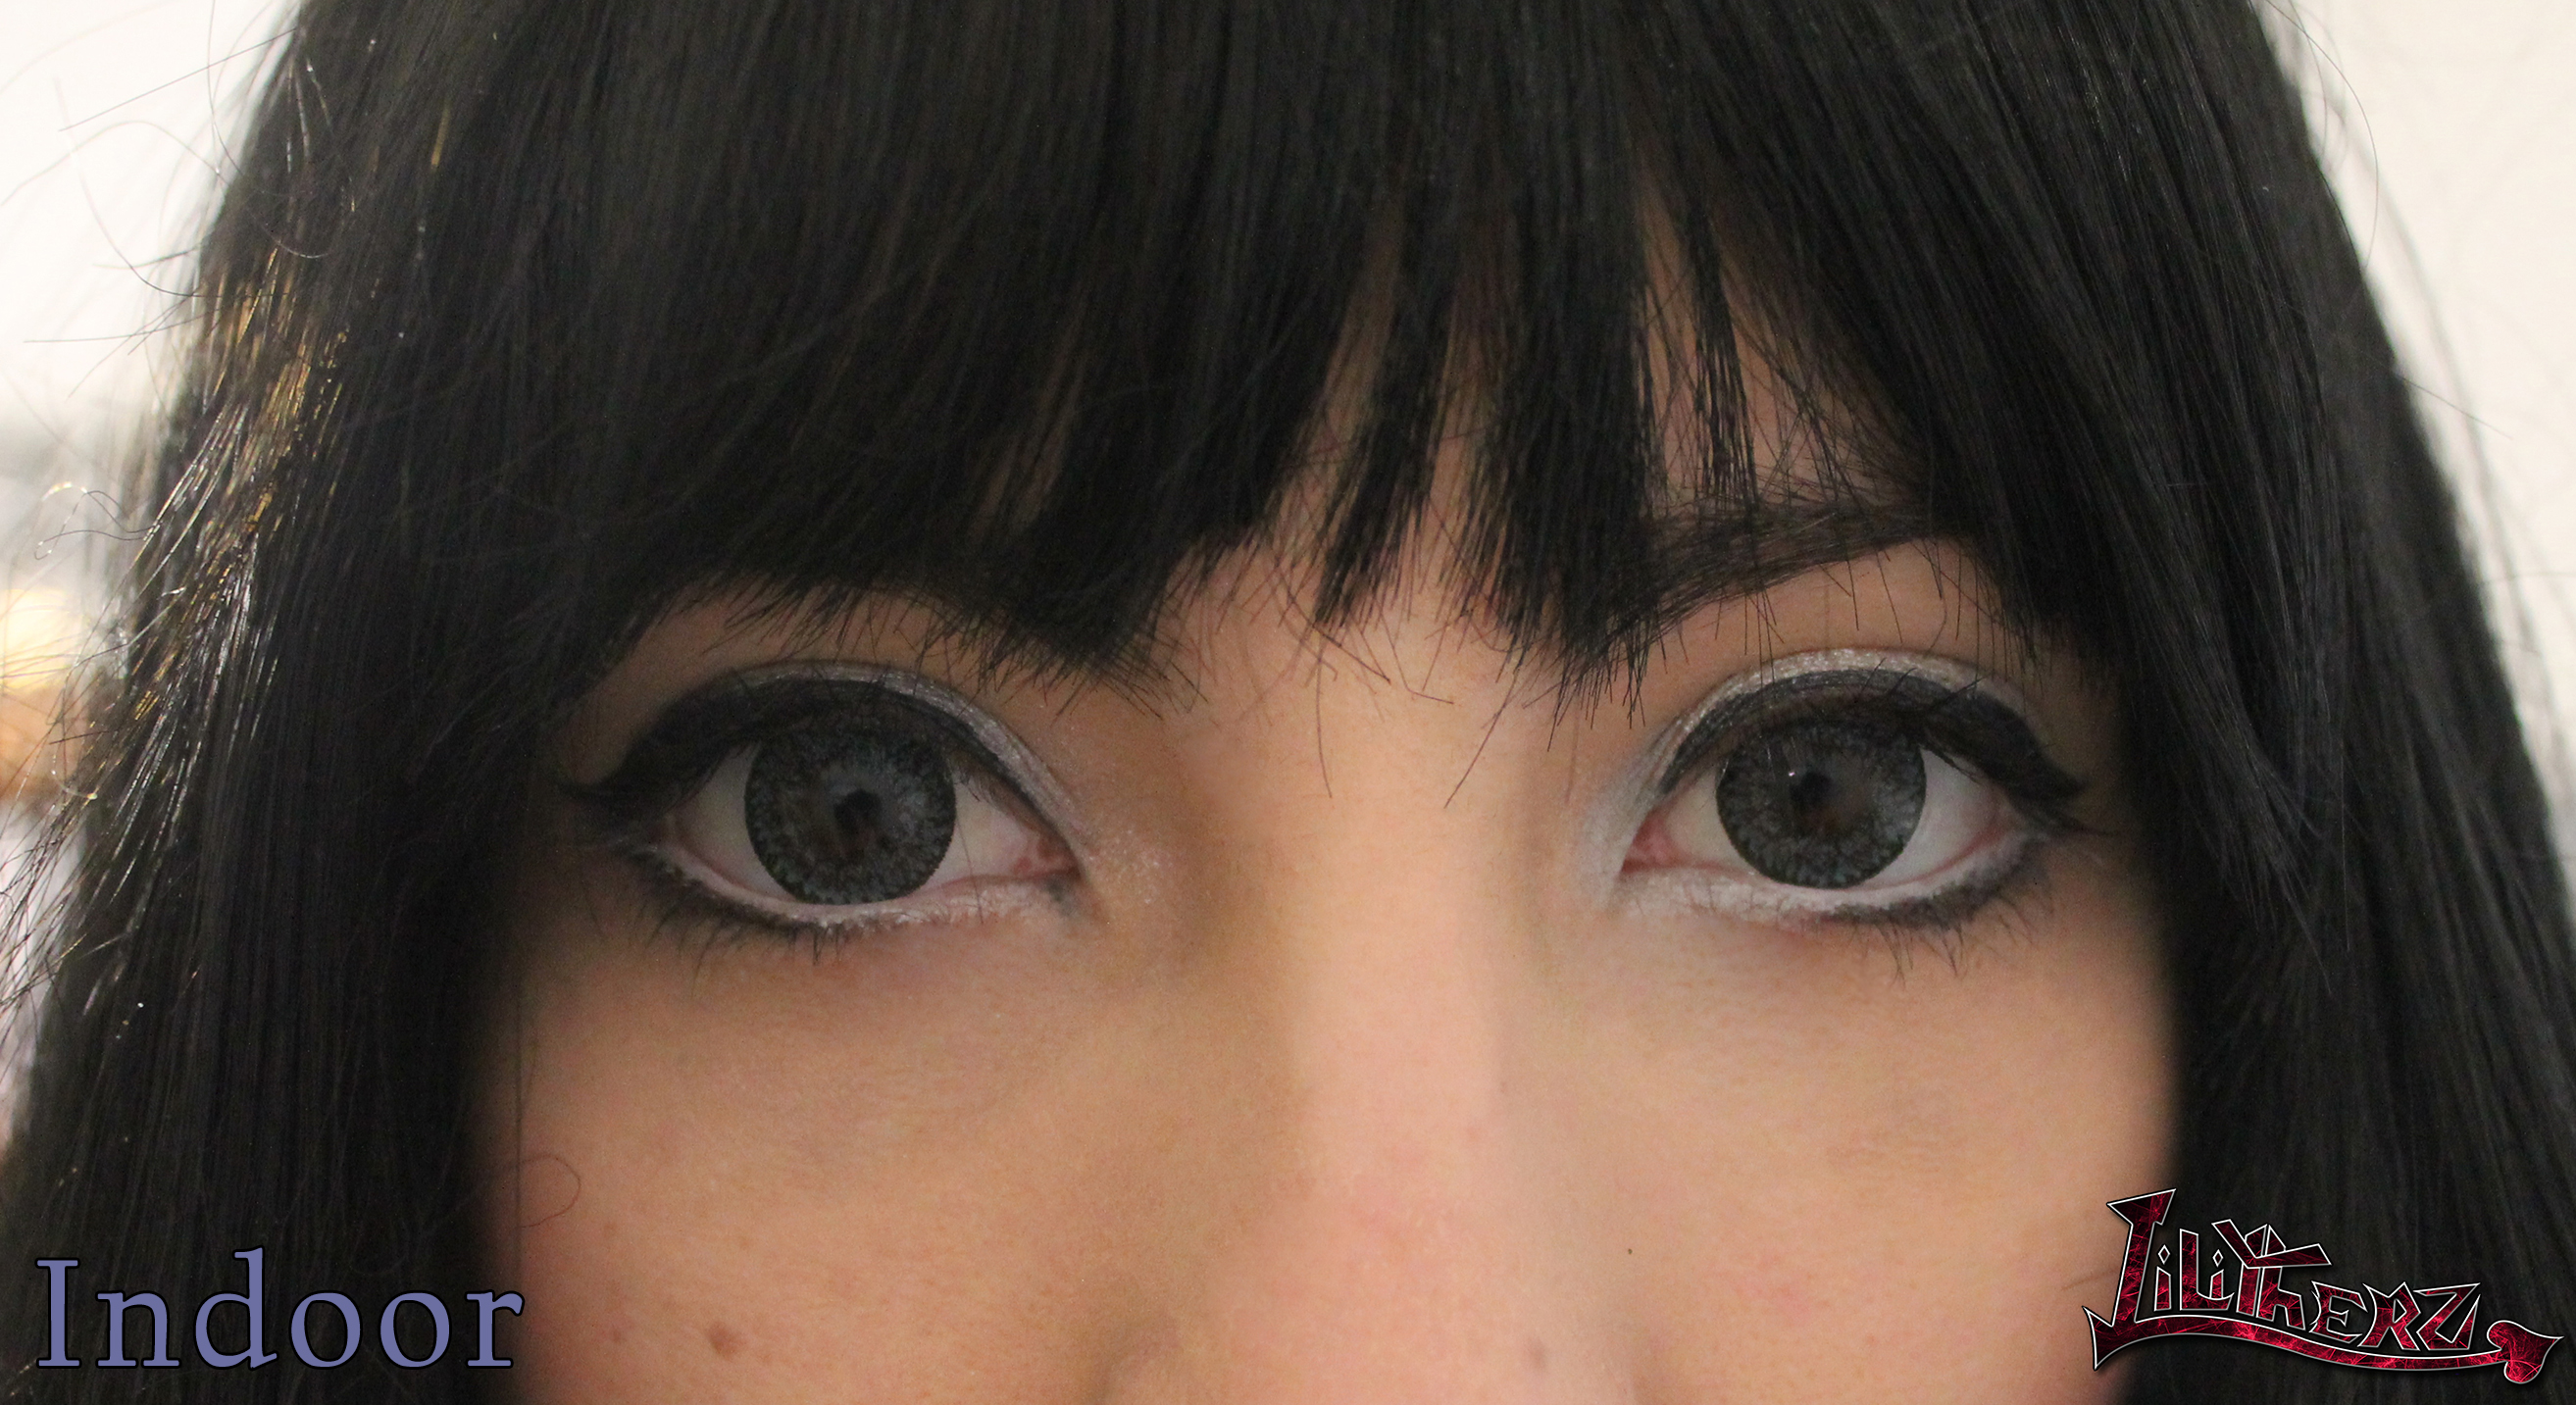
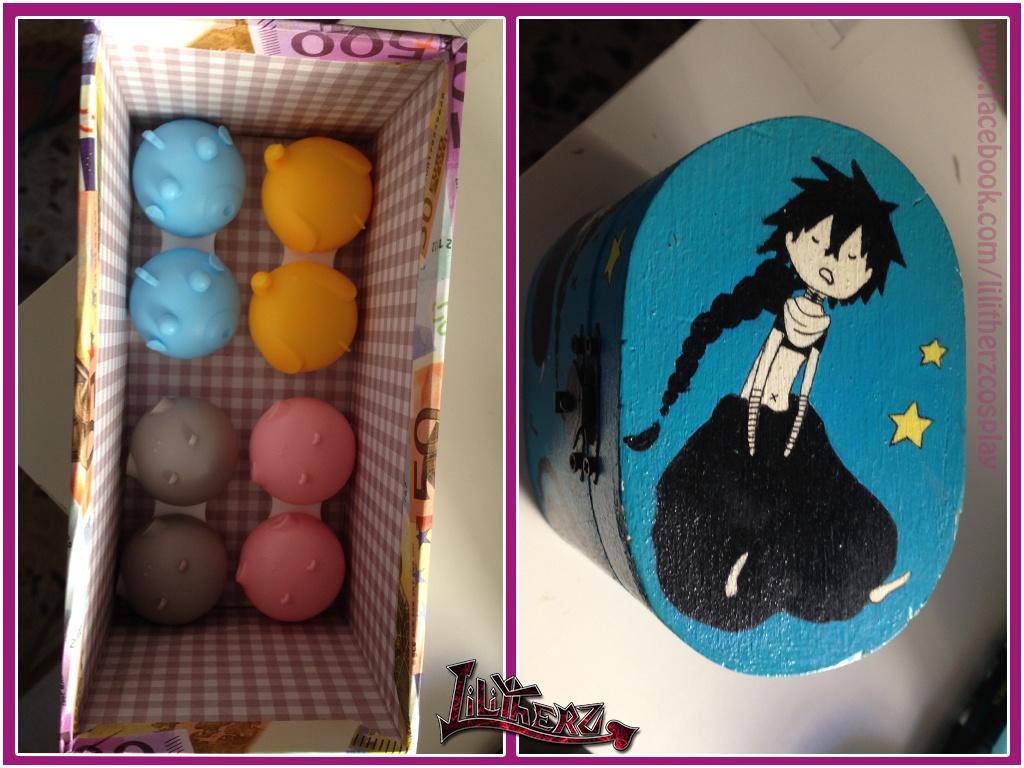
wigs


Lens

I use to store lens in little boxes like this. I use two different kind of boxes for divide mines from my boyfriend ones. So even him can get his lenses without any problem. I change the solution every month or every two weeks to prevent the formation of any kind of germs.
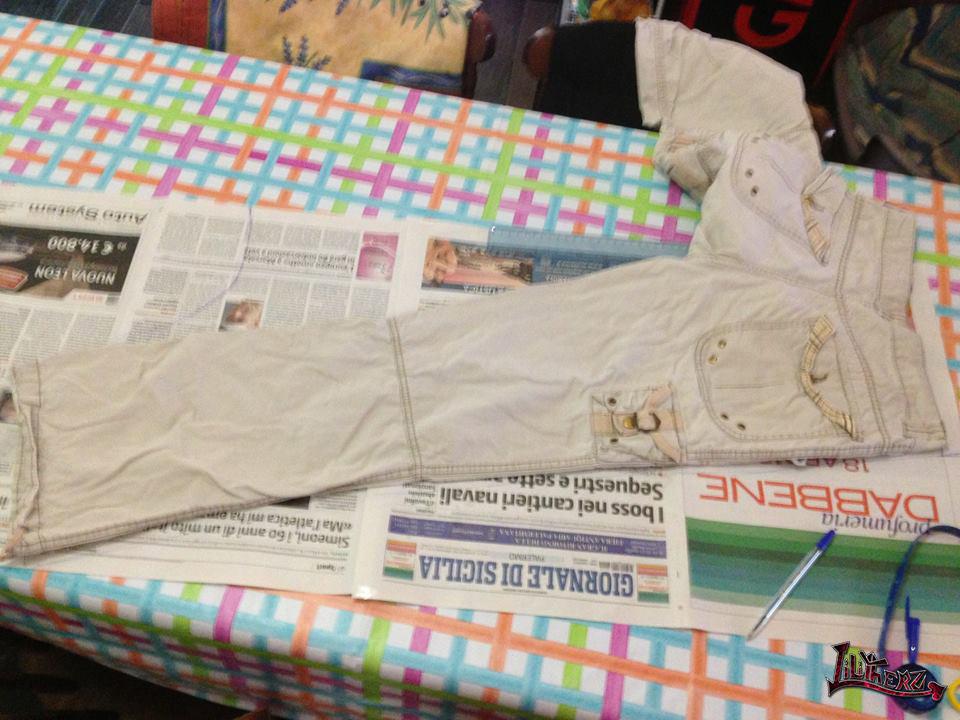
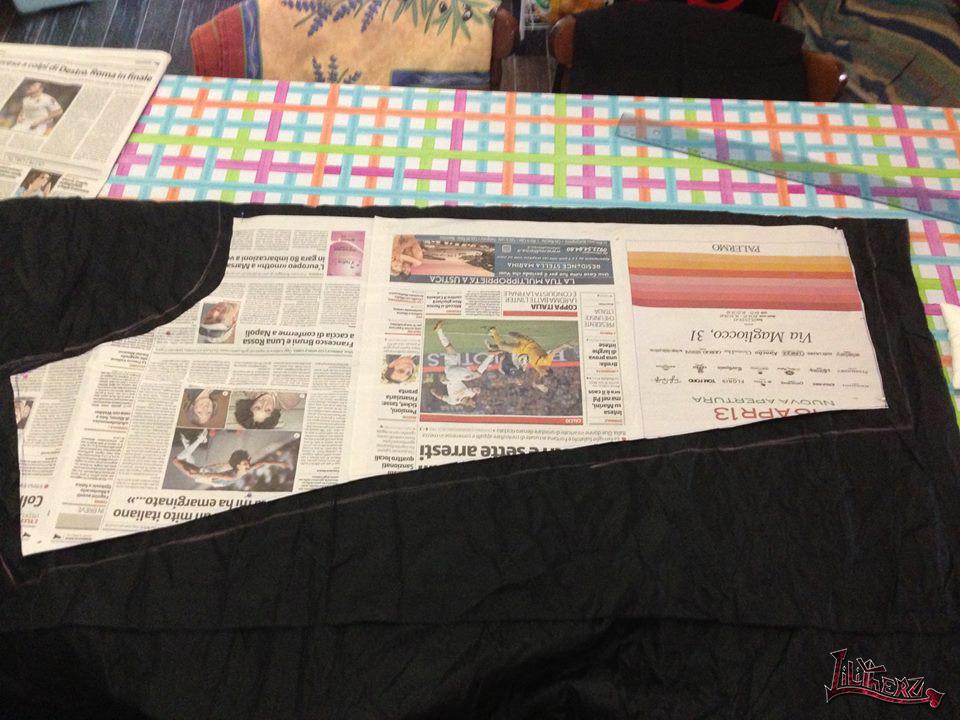
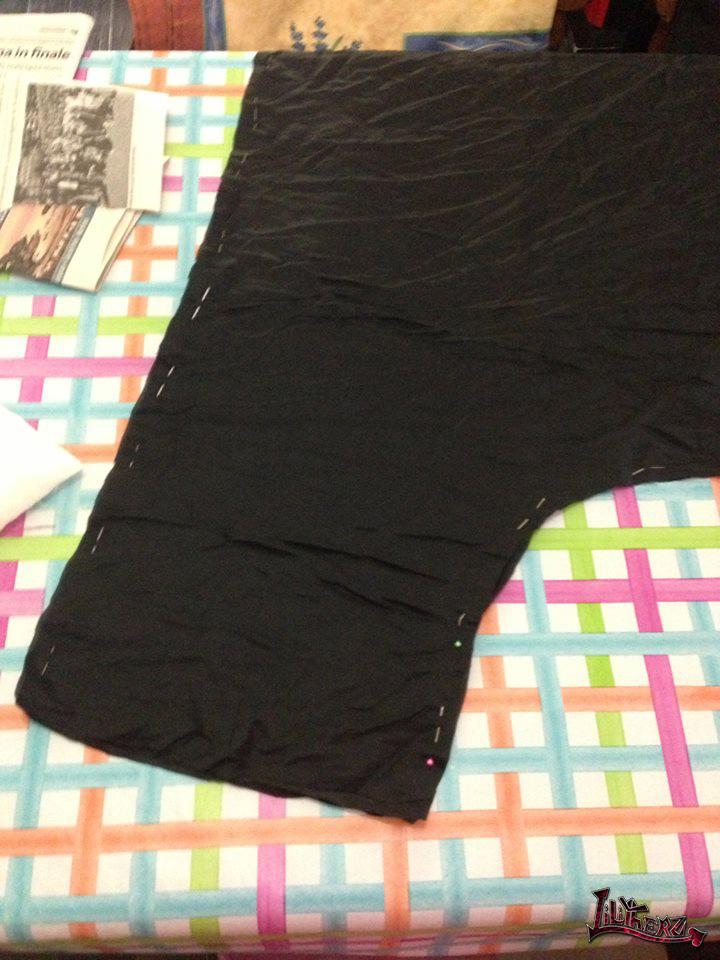
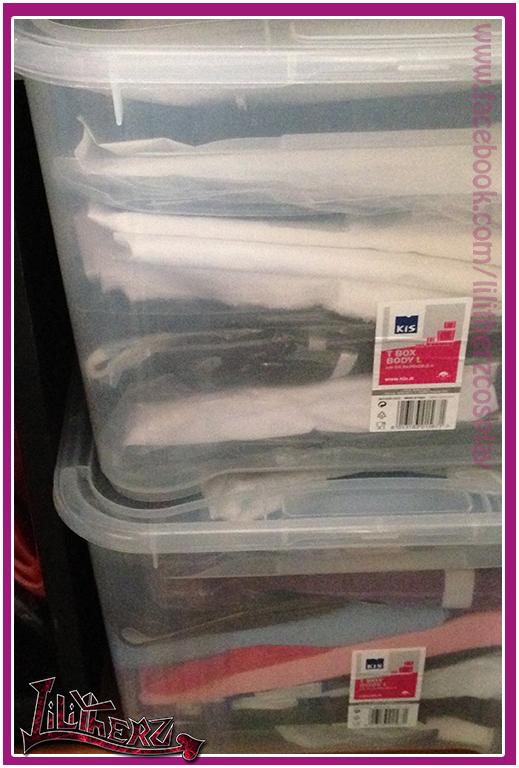
lens


fabric

I use this kind of transparent box to keep all my fabrics in order. Often, I use plastic bag to keep together fabrics for specific characters and not confuse them with similar fabric I could have with different length or saved for any other cosplay project.
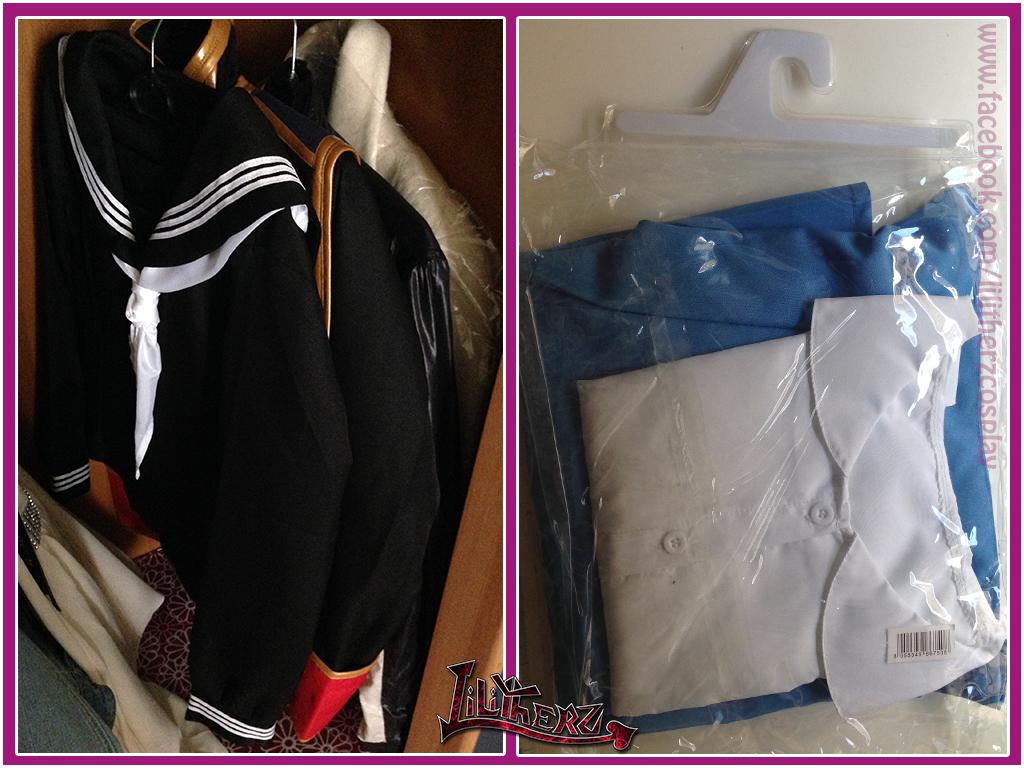
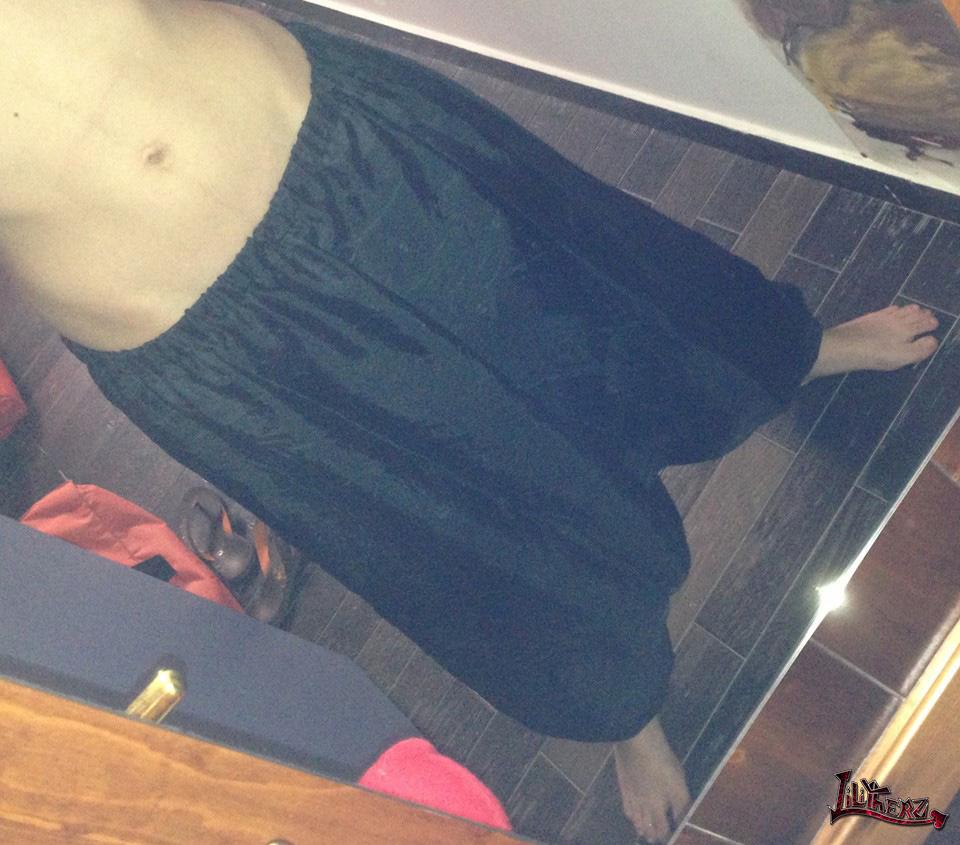
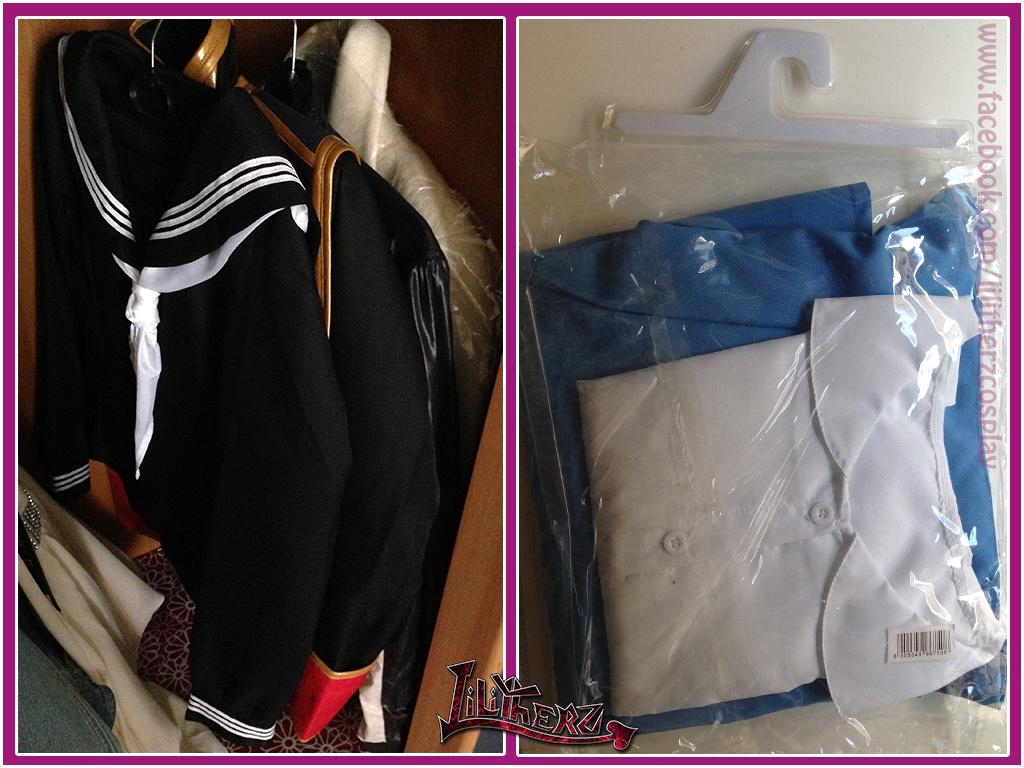
fabric

cosplay

I have a very little wardrobe and I even share it with my boyfriend (of course x’D), so I keep in the wardrobe  only those kind of cosplay that really needs to be hanged up, as Squall’s ballroom dress, Rinoa’s ballroom dress and some kinds of school uniforms.

Anything else is stored in recycled plastic bags from sheets bags or other kind of firm transparent bag like this one.

cosplay


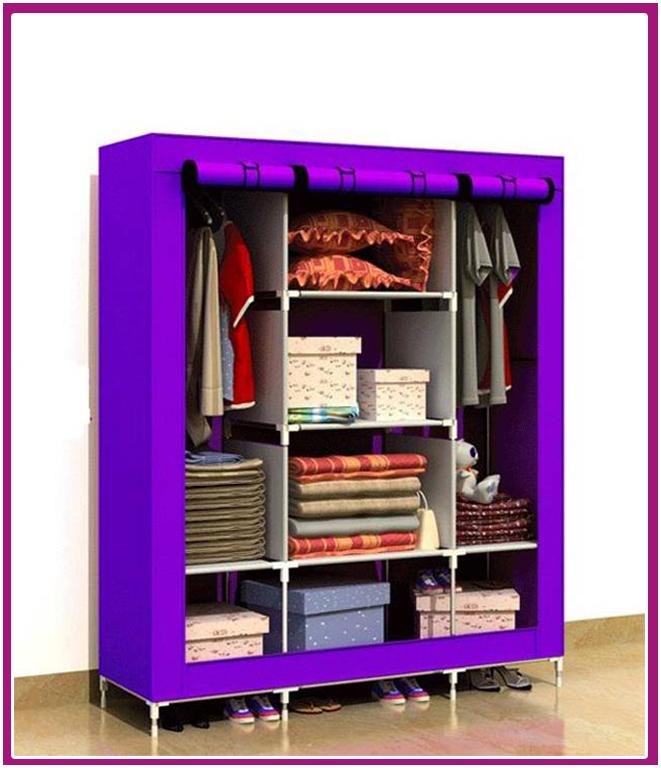
I would like to buy a folding camping wardrobe to get all cosplay clothes, shoes, wig and accessories in a single place, but my house is very small and sadly, I don’t have enough space for it. Maybe the day I’ll move to a new house I could consider it again. For now it will be only a dream <3

wardrobe

Cosplay weapons

Long time ago I used to hang up on the wall my cosplay weapons and props, but you know, I didn’t had a lot of thing. Now I keep them on the highest level of the shelf. Some are still on my parent’s house but I still had no time to go get them.

weapon


And you, how do you get in order your cosplay things?


[Review] Auto lens Cleaner

Oggi vorrei parlarvi di questo pulisci lentine automatico. Funziona grazie alle vibrazioni ed aiuta ad eliminare residui di trucco o germi dalle lenti a contatto. L’ho testato già per un paio di mesi e devo dire che è ottimo.

Io lo uso principalmente per pulire ad intervalli regolari le circle lens conservate e lo uso anche dopo averle indossate, quindi una volta tolte le lenti dopo una intera giornata in fiera.

Nel video spiego man mano come bisogna procedere, è veramente facile. Utilizzando questo metodo vi assicuro che le lenti vi dureranno molto di più, dal momento che per pulirle si eviterà di strofinarle sul palmo della mano con il dito; processo abbastanza pericoloso soprattutto per chi ha le unghie lunghe Continue reading

[Tutorial] Harem Pants / Judal MAGI

Judal.full

Questi pantaloni sono stati semplicissimi da realizzare e tengono dannatamente fresco d’estate. Principalmente posto il tutorial come riferimento ai pantaloni di Judal, ma possono essere realizzati in qualisasi tipo di materiale, colore e fantasia, da indossare anche nelle giornate comuni. L’anno scorso infatti andavo tantissimo di moda questo genere di pantaloni ( sia tra le donne che tra gli uomini). Sinceramente, non sono proprio il mio genere, ma ”degustibus”.

PREMESSA: Non sono una sarta qualificata, ma mi diletto con il cucito. Mi dispiace per la bassa qualità delle foto ma sono state scattate con il cellulare con una luce non proprio ottimale.

Per realizzarli ci occorrono:

  • 1/2 – 2 metri di stoffa (a seconda della vostra altezza)
  • Un vecchio modello di pantaloni ( vanno bene le tute e qualsiasi tipo di pantalone non aderente)
  •  Elastici
  • Gessetto
  • Spilli


PROCEDIMENTO

1. Iniziamo facendo il cartamodello di metà pantalone facendo in modo di creare un ampio triangolo dal cavallo alla fine della gamba del pantalone. (Dovrebbe venirne fuori una specie di mezza A)judalpantswip


2. Una volta realizzato il cartamodello, non c’è che da riportarlo sulla stoffa che avete scelto, piegata a metà ovviamente. Avanti e dietro devono essere uguali, quindi basta ripetere questa operazione due volte. Io ho come stoffa ho usato la fodera, perchè me ne sono ritrovata una quantità industriale a casa e perchè rendeva un discreto effetto visivo per questo genere di pantaloni.

judalpantswip2


3. Ora non resta che spillare tutto il contorno, lasciando liberi le estremità delle gambe e la parte del bacino, imbastire(se volete) e cucire a macchina.

judalpantswip3


4. Dopo aver cucito i lati ed il centro (chiamiamolo cavallo), possiamo procedere ad applicare l’elastico nella parte del bacino e nelle estremità delle gambe. Vi consiglio di usare un’elastico largo sul bacino e un elastico molto più fine sulle caviglie così l’effetto estetico è più armonioso.

Il risultato finale è questo qui:

judalpantswip5

Spero di essere stata più chiara possibile  ≧△≦

Potete vedere altre foto dei pantaloni indossati QUI


[REVIEW] Geo nudy Blue

Senza titolo-5v Negozio: Pinky Paradise

 Modello: Geo Nudy Blue

 Diametro: 14.2mm

 Durata: Annuali

 Gradazione disponibile: da -0.00 a -10.00

 Prezzo: 17,51€

 Ho comprato queste lenti più di un’anno fa per il cosplay di Aqua, purtroppo sono rimasta molto delusa dalla coprenza ed il colore finale. Devo ammettere che non avevo molti soldi da poter spendere per le lenti e sono andata un po sul risparmio,quindi ”mea culpa”. Queste lenti non rendono quel blu così acceso e brillante come nell’immagine del sito, ma anzi, tendono cromaticamente al grigio su occhi scuri. Non mi pento particolarmente molto dell’acquisto dal momento che sono comodissime, ed a distanza di quasi più di 1 anno, le indosso saltuariamente ancora senza particolari fastidi. Con questo non sto dicendo che le lentine hanno una durata infinita, ma  che se usate 3 volte l’anno e mantenute meticolosamente con cambio di soluzione fisiologica regolare (ogni 2 settimane o 1 mese) possono durare un pochino di più.

PRO: Morto confortevoli

CONTRO: Colore realmente poco vivace

Come si presentano:

IMG_1

℘WORN℘

Comfort: stelle 4-5

 Coprenza: stelle 1-5

 Effetto indossate:stelle 2-5

IMG_2IMG_3Queste prime due foto sono state scattate con la luce artificiale proveniente da una stanza con le finestre semichiuse ed il flash della fotocamera


IMG_4IMG_5

Per luce solare intendo, la fascia oraria in cui la luce solare è molto forte, cioè intorno a mezzo giorno!

Invece per quel che riguarda la luce naturale è stata scattata  con la luce delle 9am (circa)